Creating a filter for images using p5js
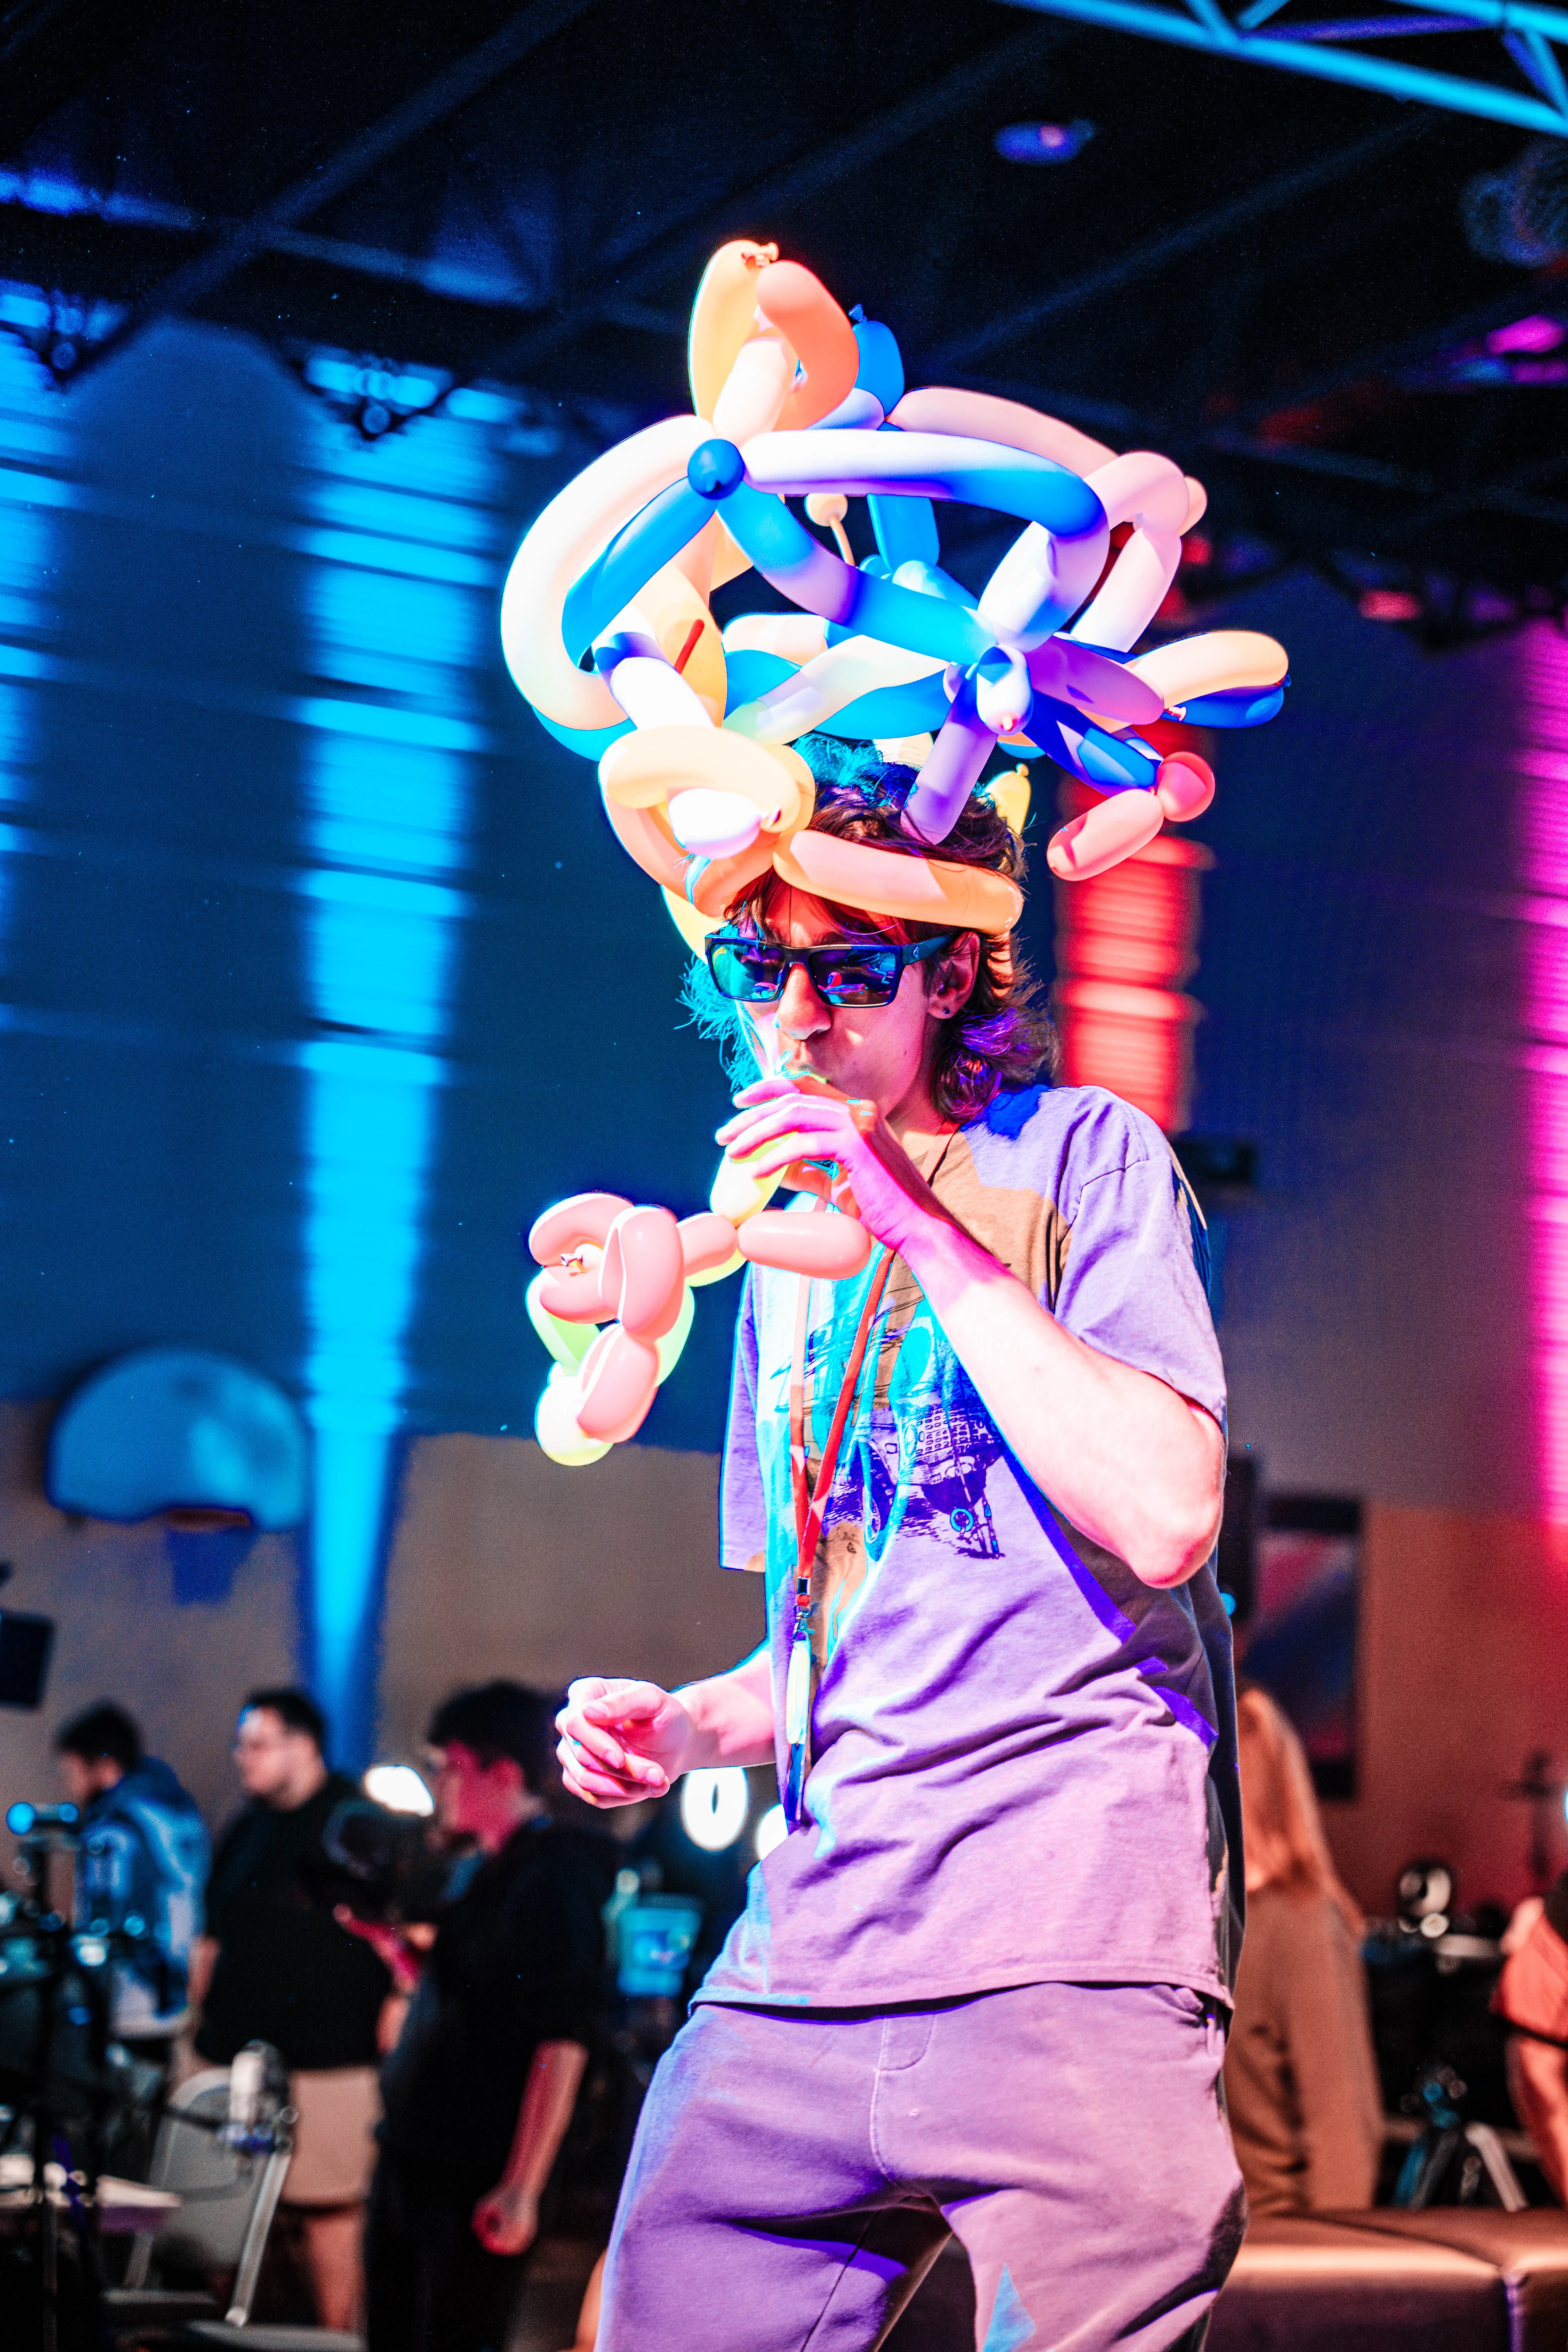
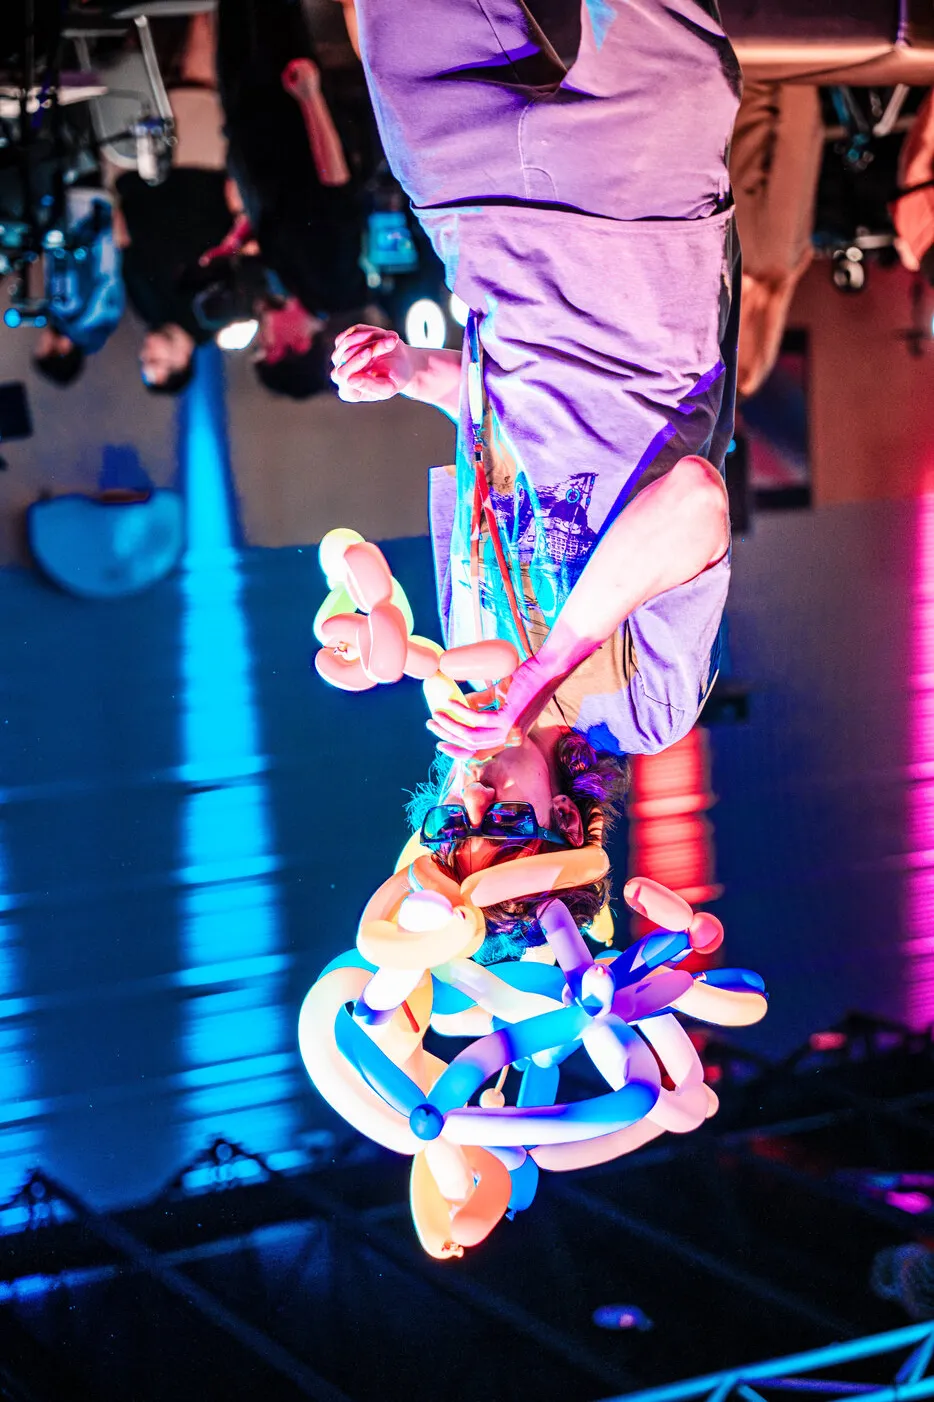
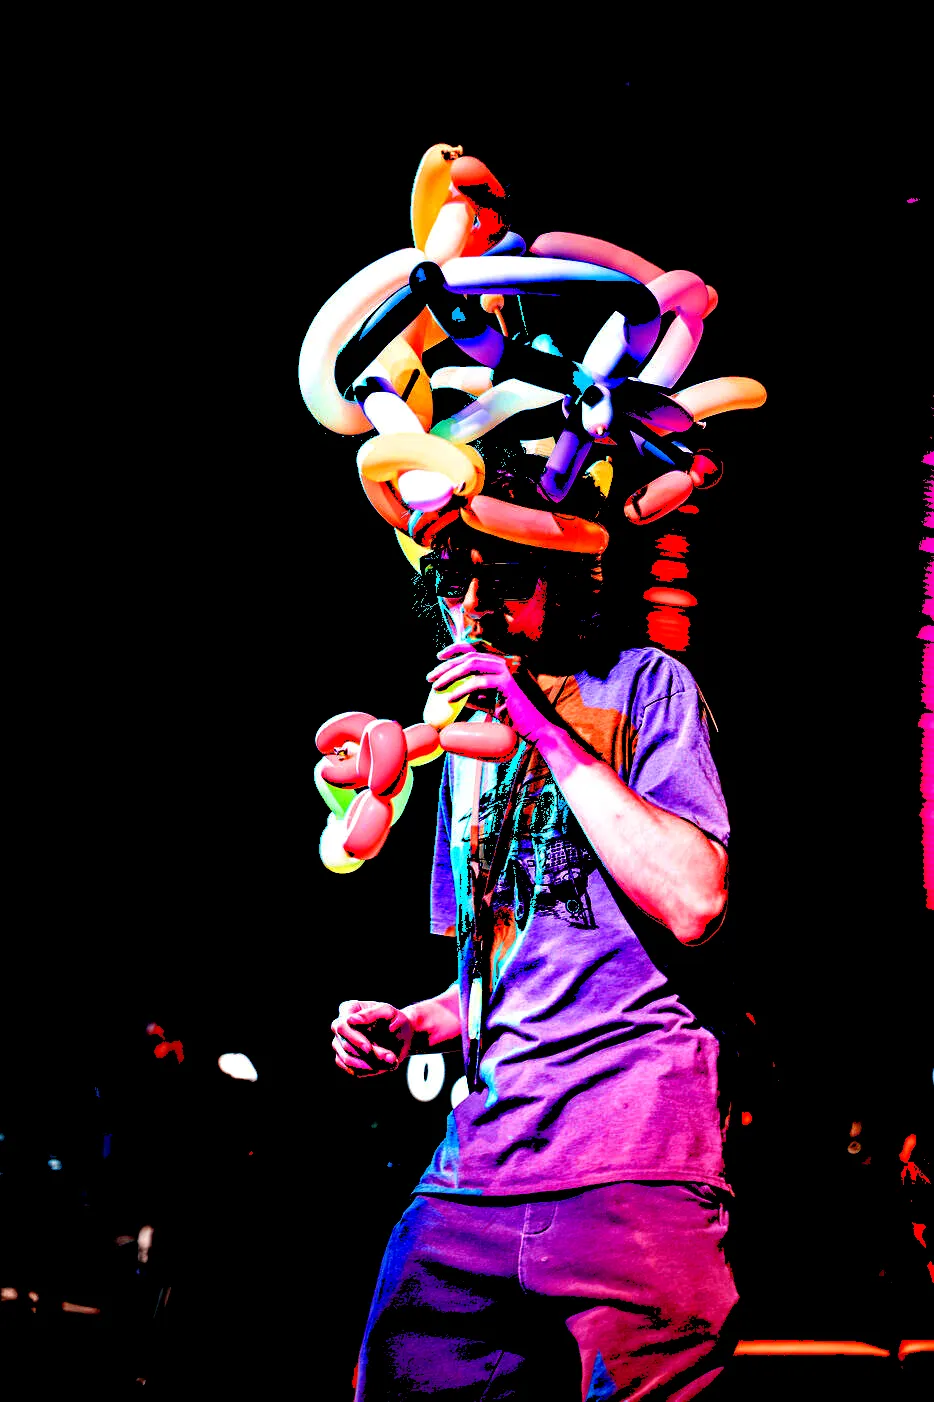
showing the image
1. pre-load your image
let img;

function preload() {
    img = loadImage("./loic.png");
}
2. set a the size of your image
function setup() {
    createCanvas(img.width, img.height);
}
3. draw your image by changing the canvas pixels color value
load both of the pixels arrays
function setup() {
    // ...

    img.loadPixels();
    loadPixels();
}
loop through the pixels array based on the width & height
function setup() {
    // ...

    for (let x = 0; x < width; x++) {
        for (let y = 0; y < height; y++) {
            // ...
        }
    }
}
get the index of the pixel using the density of pixels
function setup() {
    // ...
    let d = pixelDensity();

    for (let x = 0; x < width; x++) {
        for (let y = 0; y < height; y++) {
            let index = 4 * ((d + y) * width * d + (d + x));
            // ...
        }
    }
}
get the r, g, b and a value of the pixel of the image
function setup() {
    // ...
    let d = pixelDensity();

    for (let x = 0; x < width; x++) {
        for (let y = 0; y < height; y++) {
            let index = 4 * ((d + y) * width * d + (d + x));
            let r = img.pixels[index];
            let g = img.pixels[index + 1];
            let b = img.pixels[index + 2];
            let a = img.pixels[index + 3];
            // ...
        }
    }
}
change the color of the pixel of the canvas
function setup() {
    // ...
    let d = pixelDensity();

    for (let x = 0; x < width; x++) {
        for (let y = 0; y < height; y++) {
            let index = 4 * ((d + y) * width * d + (d + x));
            let r = img.pixels[index];
            let g = img.pixels[index + 1];
            let b = img.pixels[index + 2];
            let a = img.pixels[index + 3];

            pixels[index] = r;
            pixels[index + 1] = g;
            pixels[index + 2] = b;
            pixels[index + 3] = a;
        }
    }
}
update the canvas pixels
function setup() {
    // ...
    let d = pixelDensity();

    for (let x = 0; x < width; x++) {
        for (let y = 0; y < height; y++) {
            let index = 4 * ((d + y) * width * d + (d + x));
            let r = img.pixels[index];
            let g = img.pixels[index + 1];
            let b = img.pixels[index + 2];
            let a = img.pixels[index + 3];

            pixels[index] = r;
            pixels[index + 1] = g;
            pixels[index + 2] = b;
            pixels[index + 3] = a;
        }
    }

    updatePixels();
}
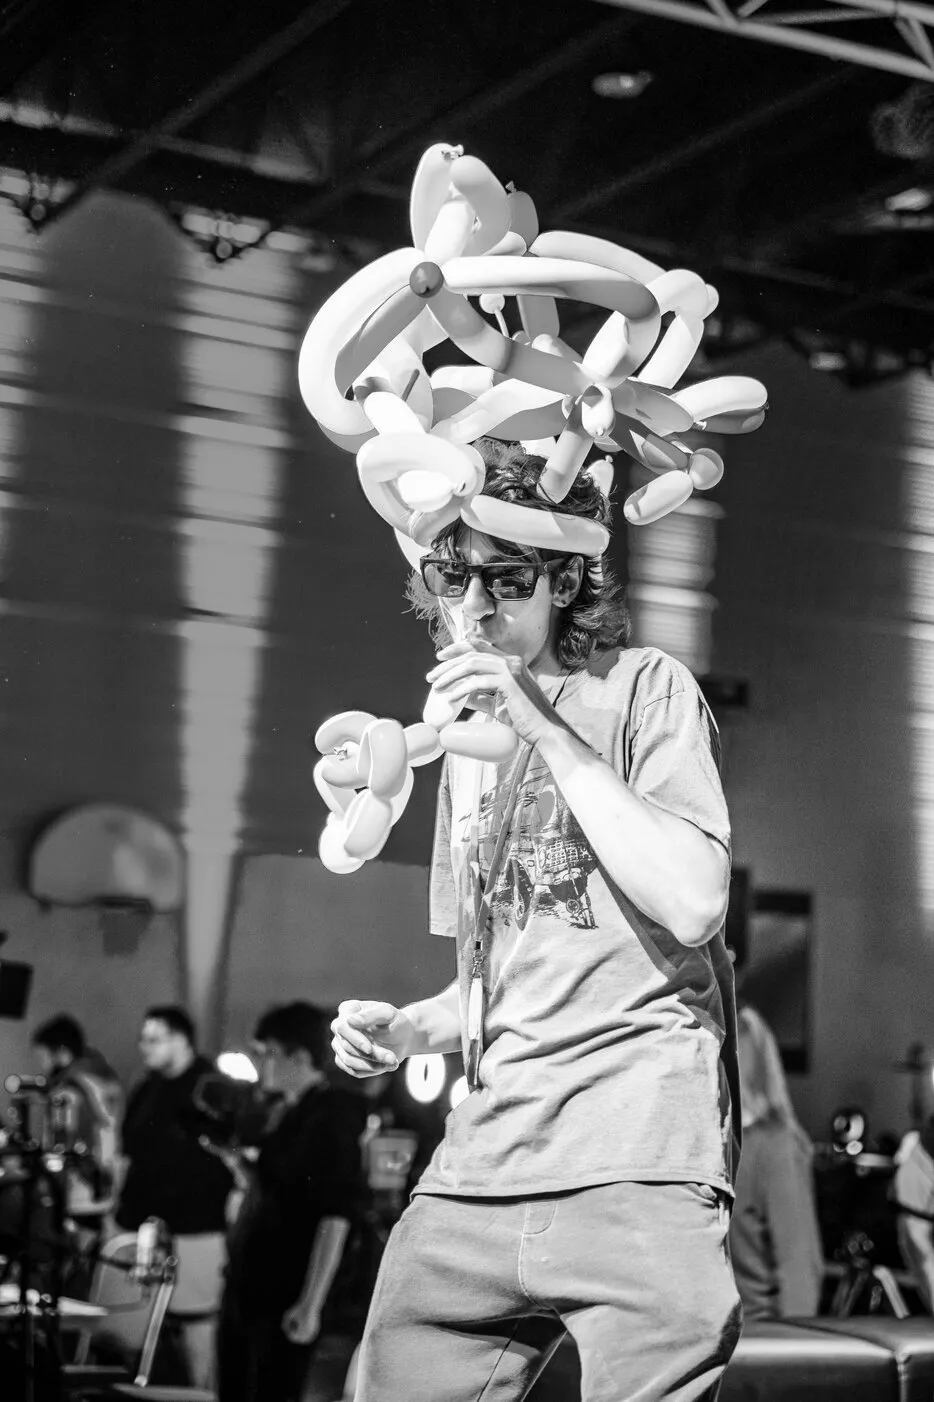
adding a chromatic effect/filter to the render
1. create a variable to store the chromatic value
value calculated by using the brightness of the pixels, so to result 1 value from 3 (r, g, b) we must calculate the average of the 3 values
const cumulative = (r + g + b) / 3;update the existing code within the loops to use the new chromatic value for each of the rgb channel
function setup() {
    // ...
    for (let x = 0; x < width; x++) {
        for (let y = 0; y < height; y++) {
            // ...

            pixels[index] = cumulative;
            pixels[index + 1] = cumulative;
            pixels[index + 2] = cumulative;
            pixels[index + 3] = a;
        }
    }
    // ...
}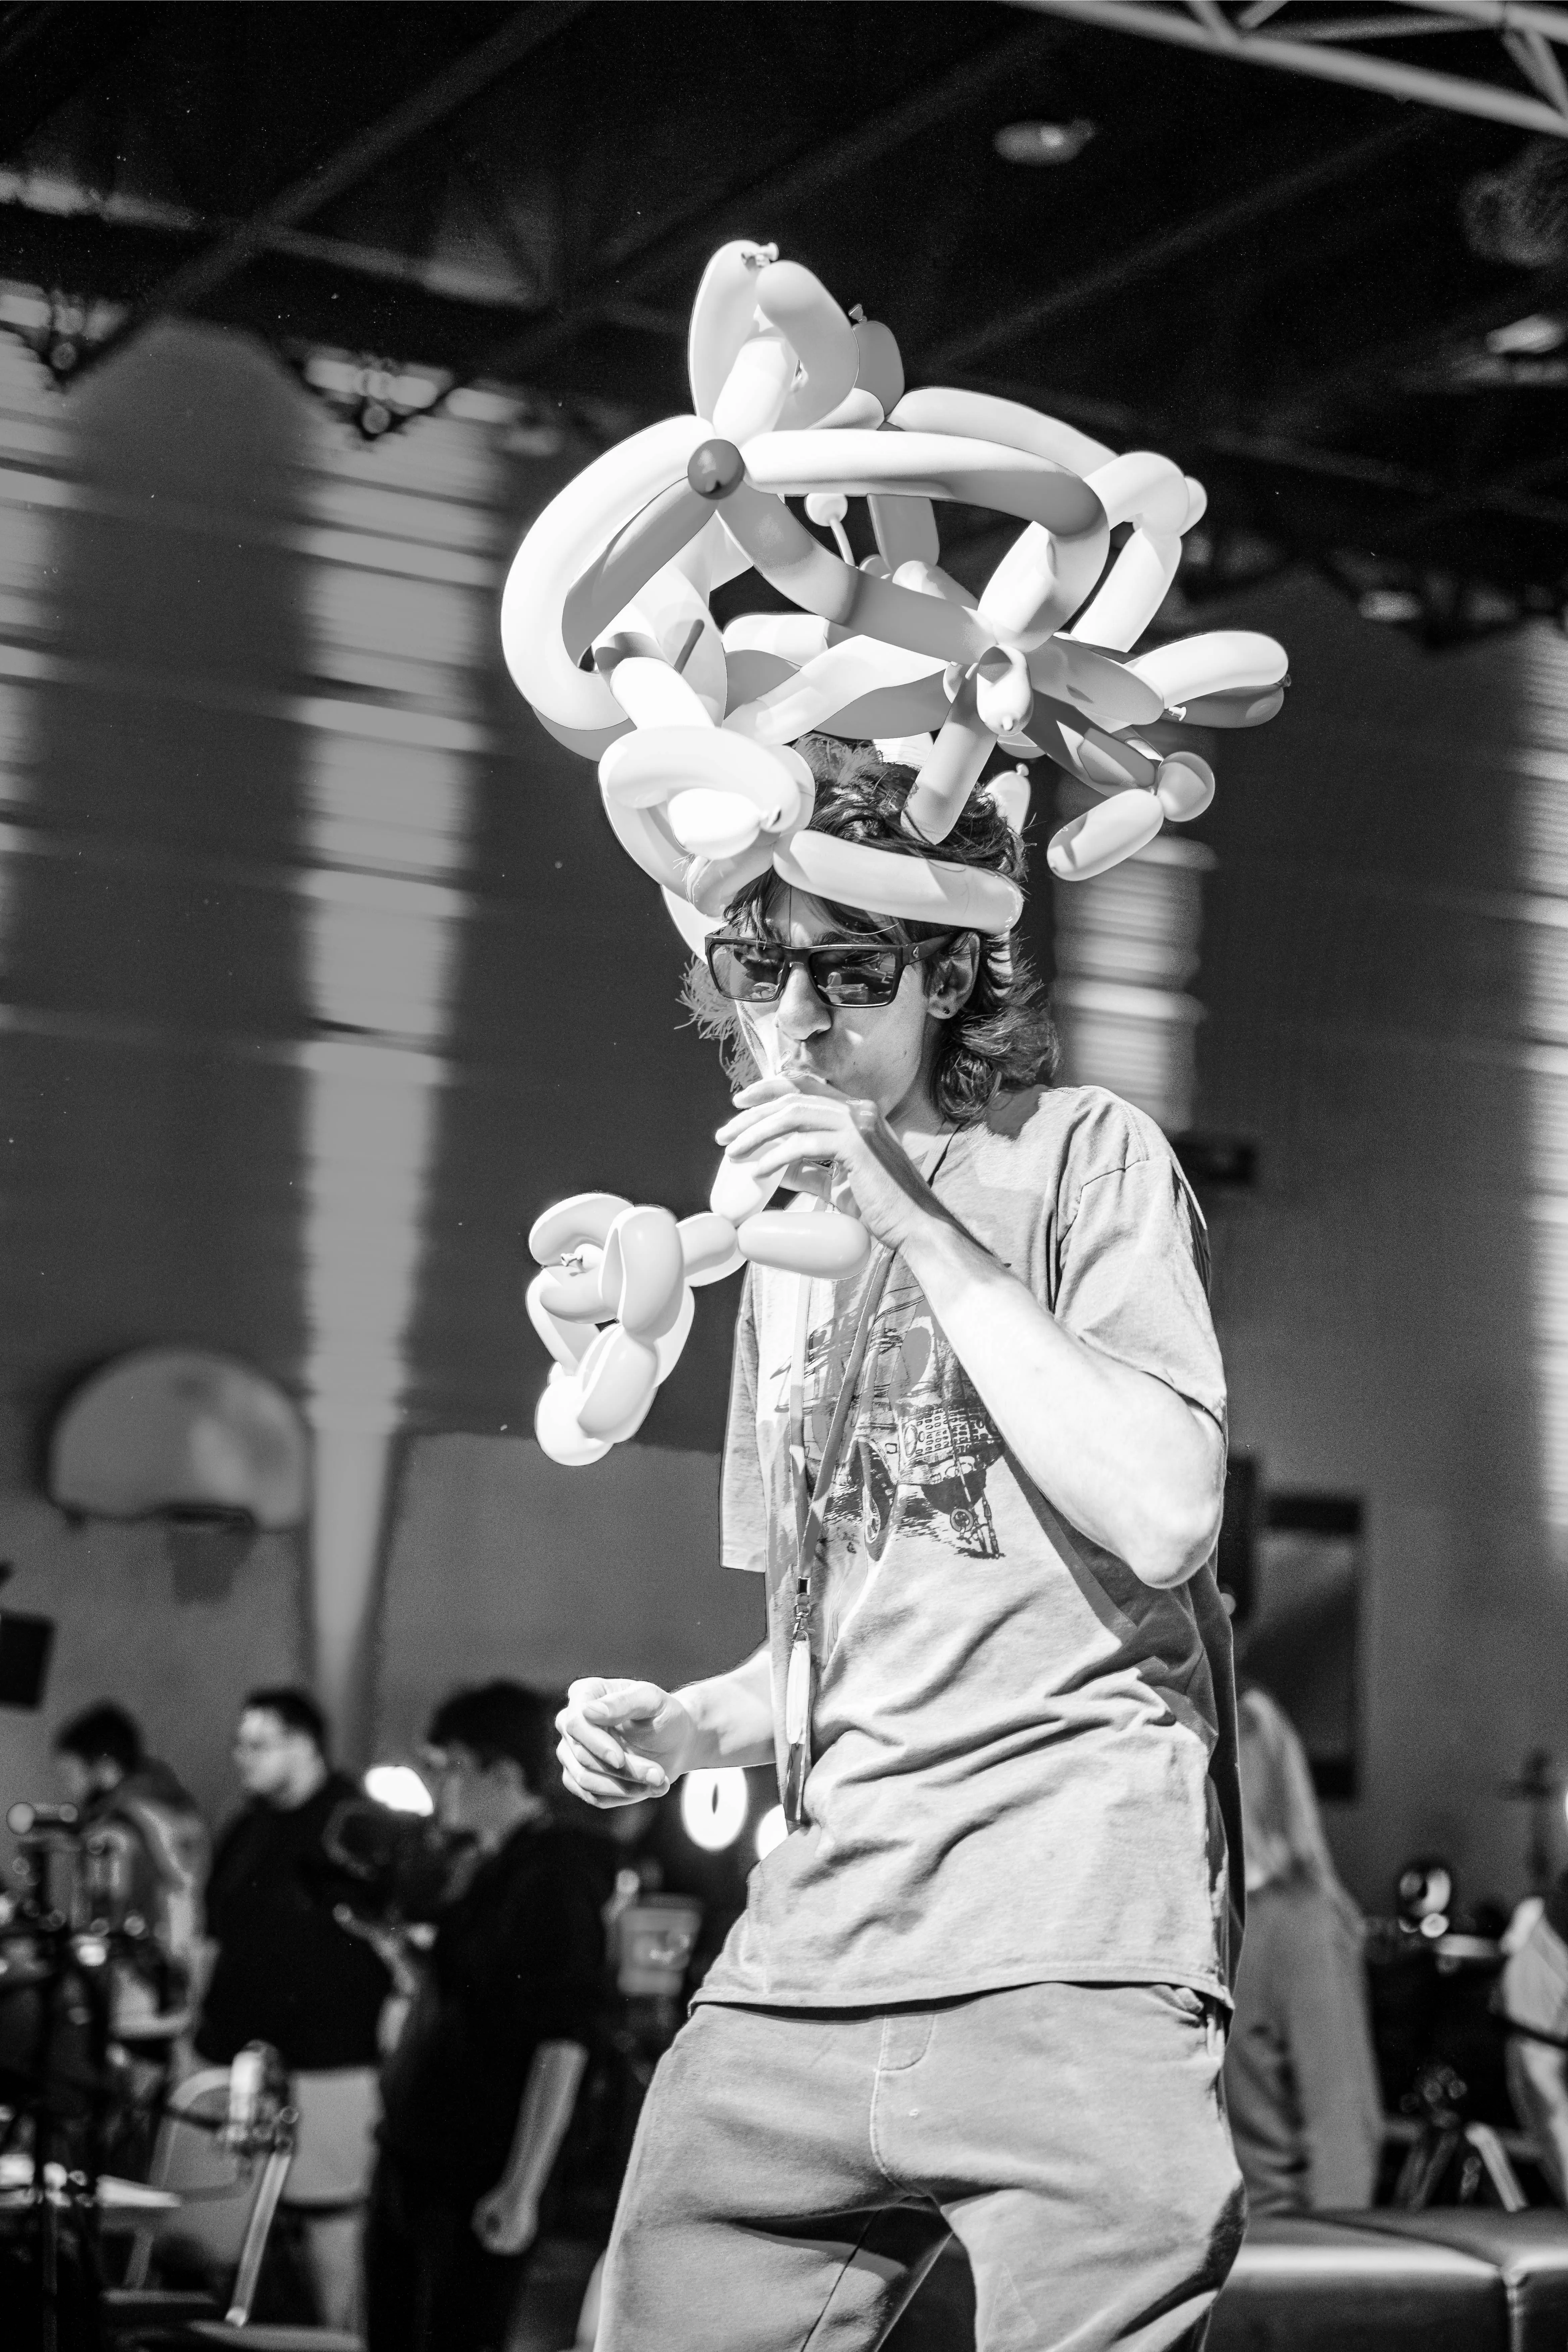
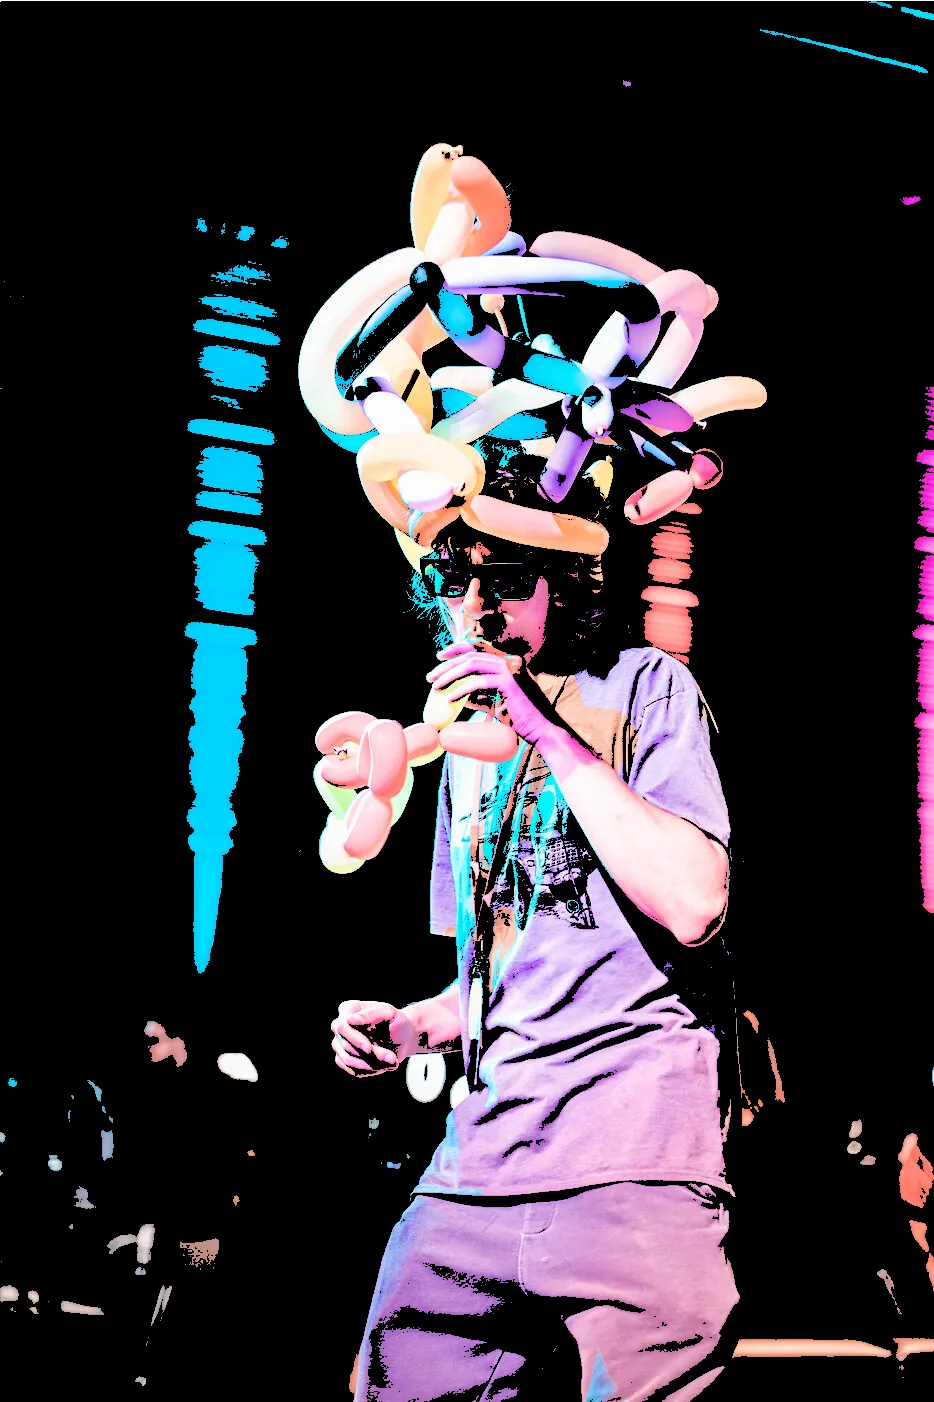
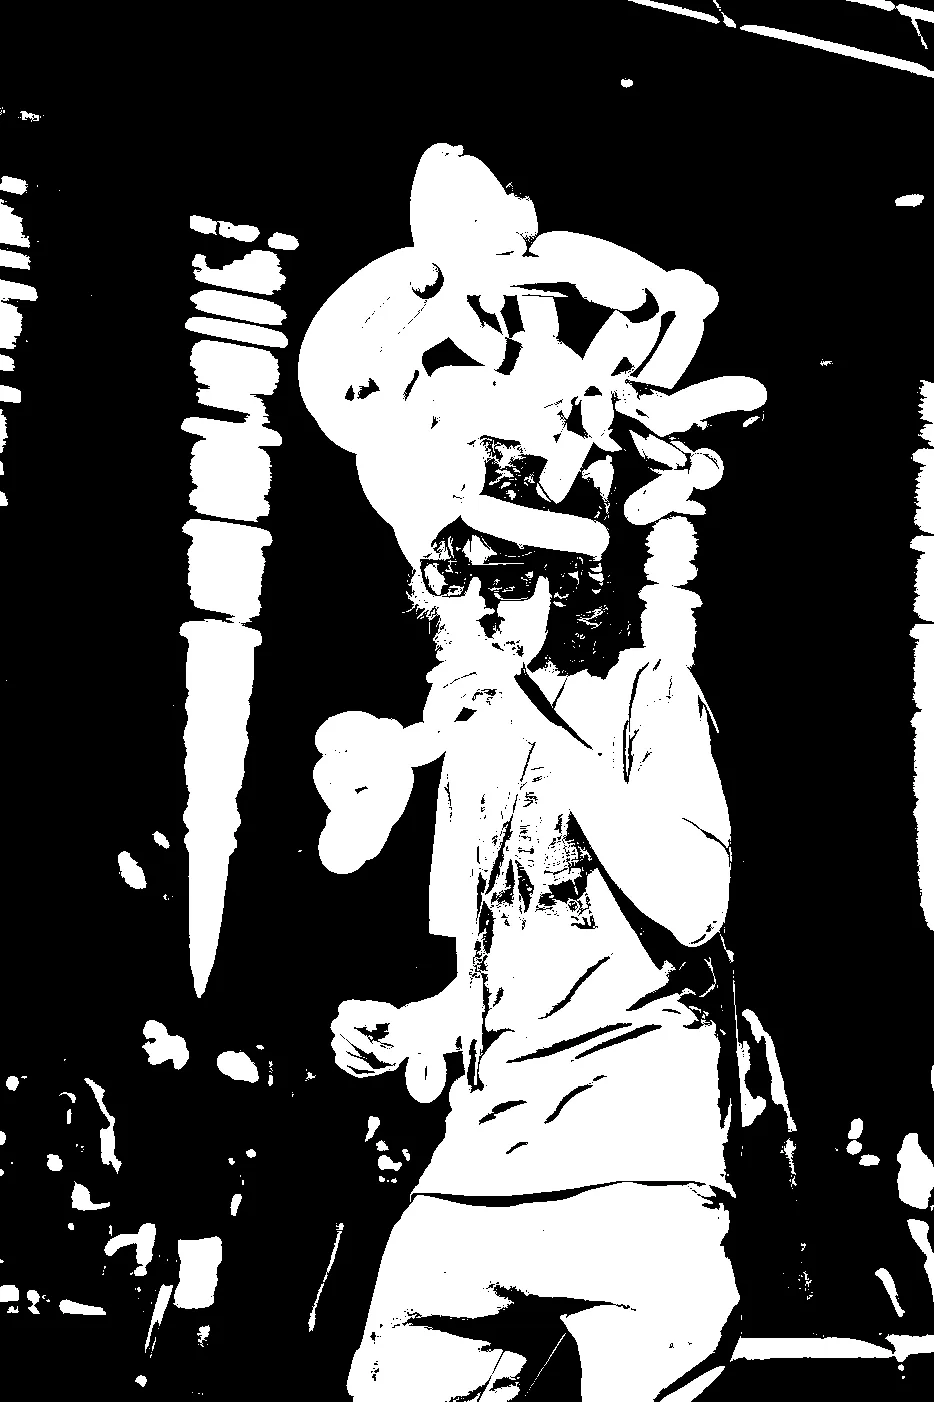
3. add a threshold at which the pixel will be either black or white
// 0 = black
// 255 = white

const threshold = 150;
cumulative = cumulative > threshold ? 255 : 0;
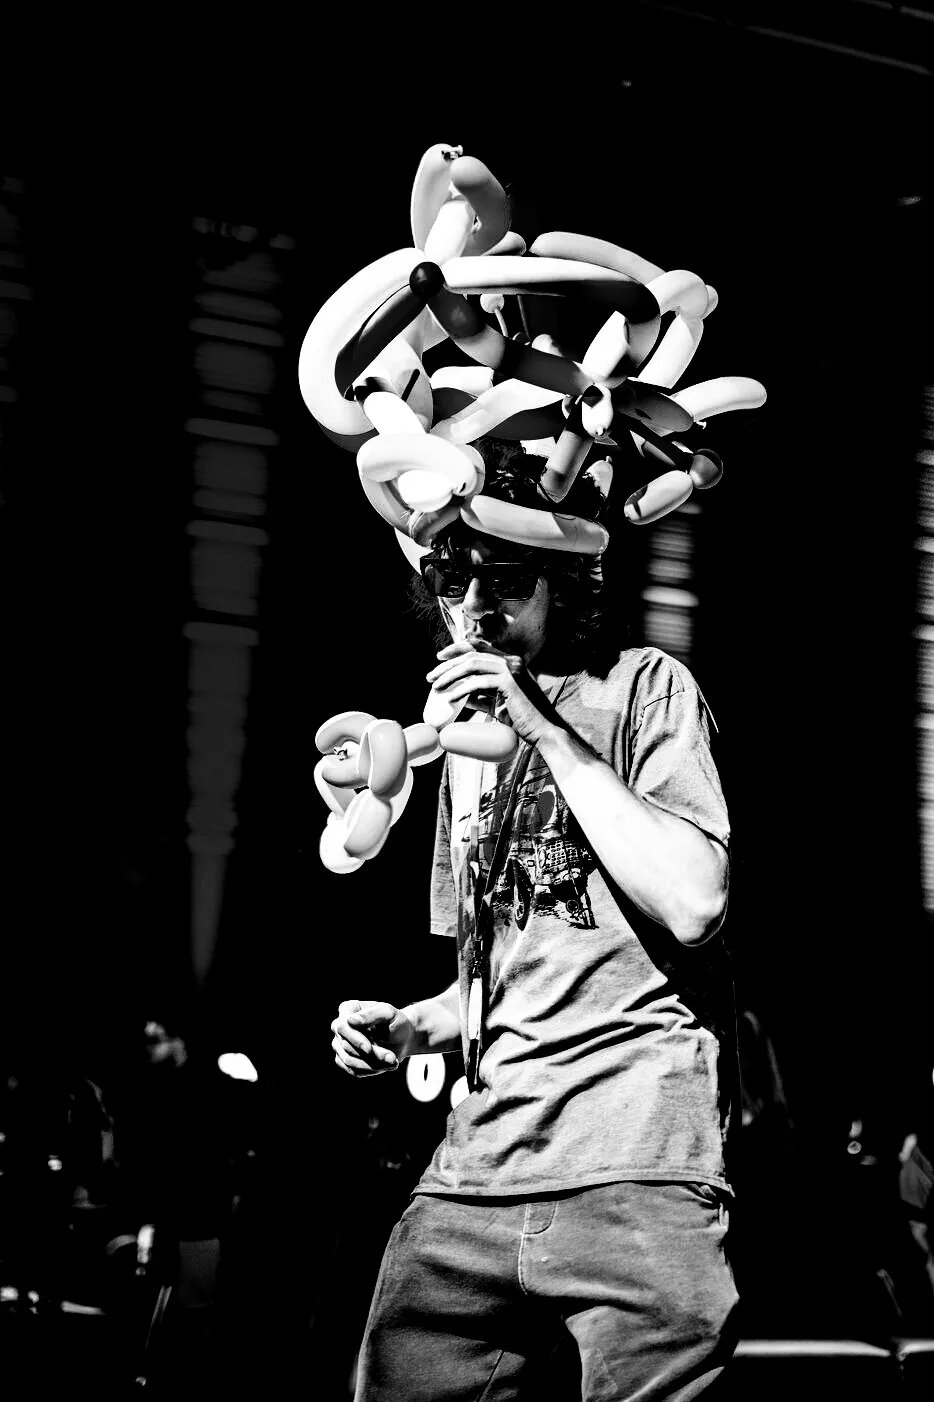
4. smoothen the bright part of the threshold by mapping it’s original values to a given range
const threshold = 150;
cumulative = cumulative > threshold ? map(cumulative, 150, 255, 50, 255) : 0;
which will result in a clearer image
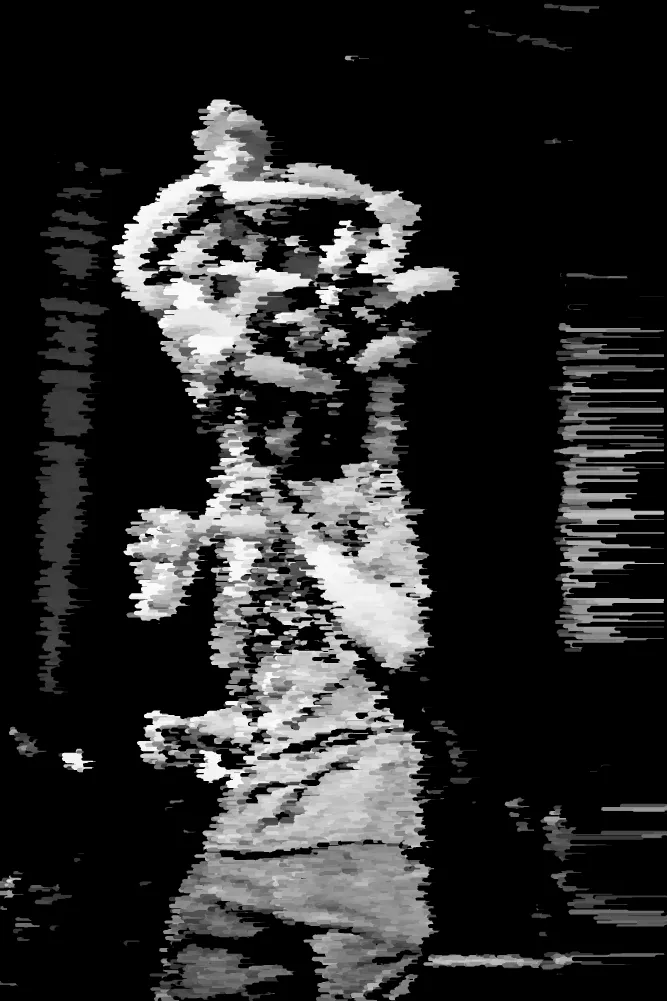
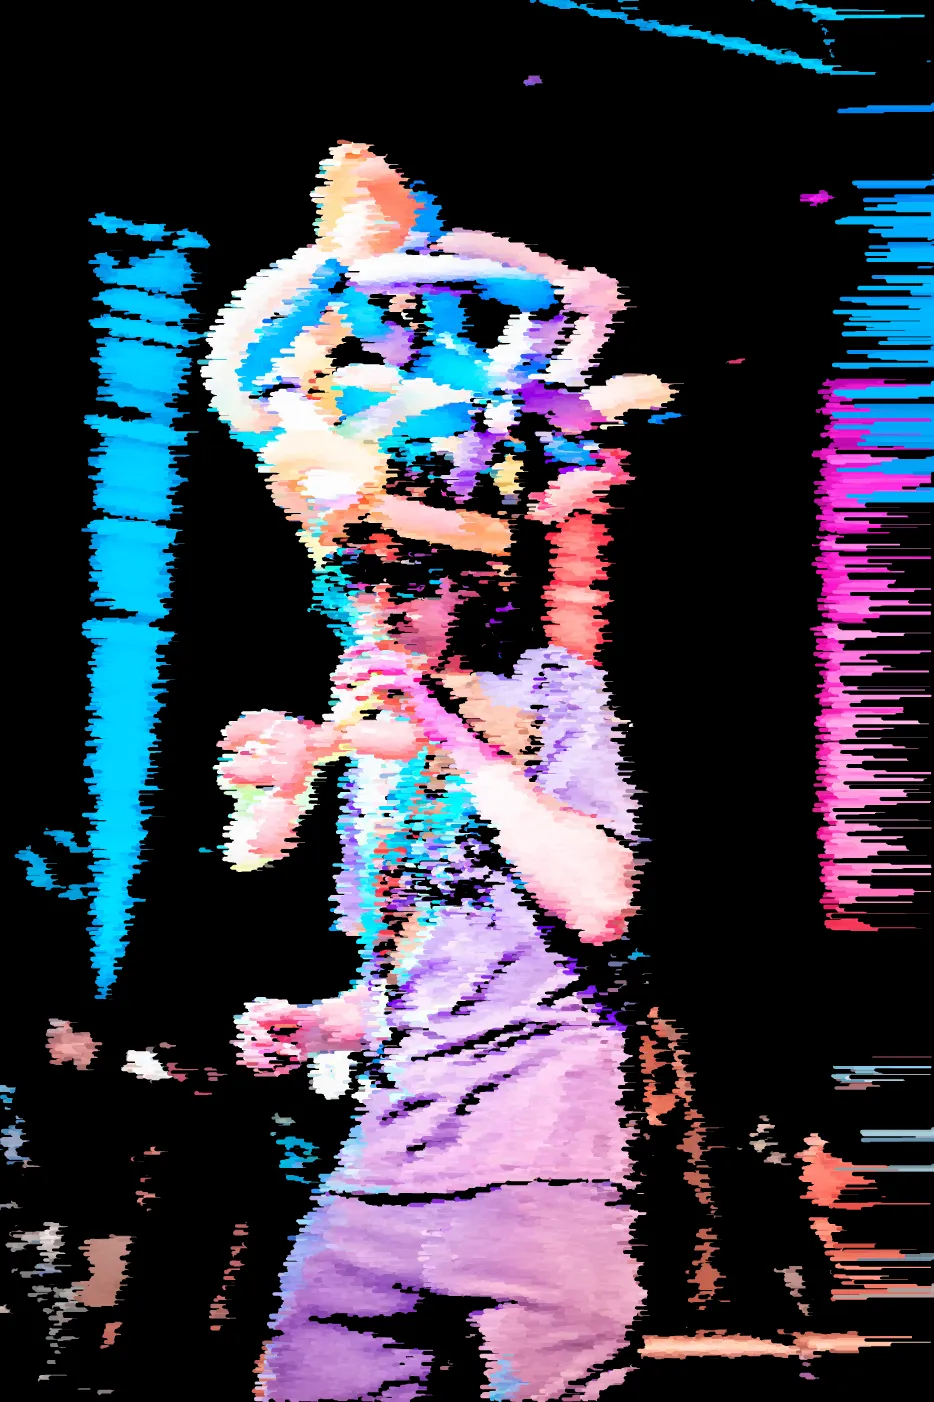
now lets make the image be “glitched”
now instead of setting a value to each canvas pixels directly, lets create points and draw those with the proper color
function setup() {
    // ...

    loadPixels(); // line removed

    for (let x = 0; x < width; x++) {
        for (let y = 0; y < height; y++) {
            // ...

            stroke(cumulative, a);
            point(x, y);

            pixels[index] = cumulative; // line removed
            pixels[index + 1] = cumulative; // line removed
            pixels[index + 2] = cumulative; // line removed
            pixels[index + 3] = a; // line removed
        }
    }

    updatePixels(); // line removed
}
add a bit of randomness to the size of the points
function setup() {
    // ...

    for (let x = 0; x < width; x++) {
        for (let y = 0; y < height; y++) {
            // ...

            strokeWeight(random(3, 5));
            stroke(cumulative, a);
            point(x, y);
        }
    }
}
change the points to lines and set the second x to the current x + a random amount
const lineHalfMaxLength = 100;

function setup() {
    // ...

    for (let x = 0; x < width; x++) {
        for (let y = 0; y < height; y++) {
            // ...

            strokeWeight(random(3, 5));
            stroke(cumulative, a);
            line(x, y, x + random(-lineHalfMaxLength, lineHalfMaxLength), y);
            point(i, j); // line removed
        }
    }
}
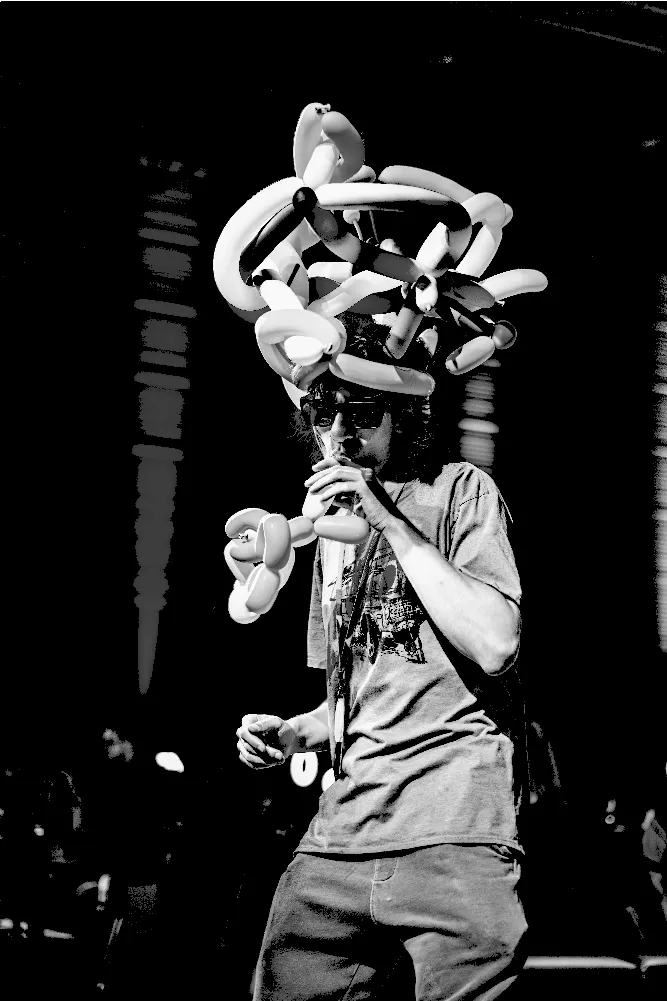
and with color
const lineHalfMaxLength = 100;

function setup() {
    // ...

    for (let x = 0; x < width; x++) {
        for (let y = 0; y < height; y++) {
            // ...

            const cumulative = (r + g + b) / 3;
            strokeWeight(random(3, 5));
            if (threshold < cumulative) {
                stroke(r, g, b, a);
            } else {
                stroke(0, a);
            }
            line(x, y, x + random(-lineHalfMaxLength, lineHalfMaxLength), y);
        }
    }
}
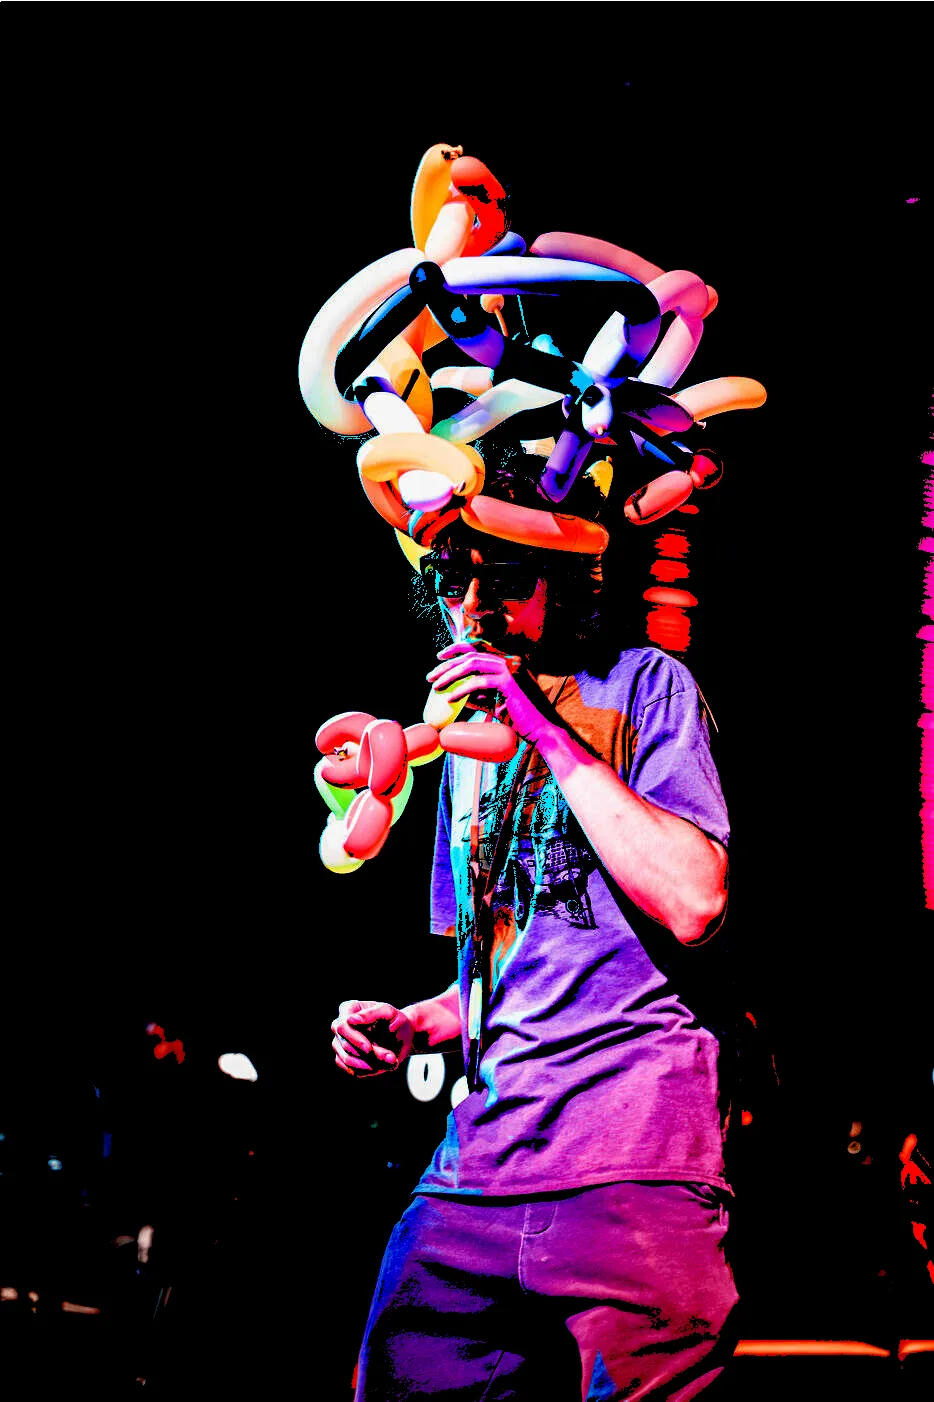
other variant
lets use the color of the image and only apply it to the pixels where the chromatic value is higher then the threshold
const threshold = 150;
let img;

function preload() {
    img = loadImage("loic.jpeg");
}

function setup() {
    createCanvas(img.width, img.height);

    img.loadPixels();
    loadPixels();

    let d = pixelDensity();

    for (let x = 0; x < width; x++) {
        for (let y = 0; y < height; y++) {
            const index = 4 * ((d + y) * width * d + (d + x));
            const r = img.pixels[index];
            const g = img.pixels[index + 1];
            const b = img.pixels[index + 2];
            const a = img.pixels[index + 3];

            const cumulative = (r + g + b) / 3;

            if (cumulative > threshold) {
                pixels[index] = img.pixels[index];
                pixels[index + 1] = img.pixels[index + 1];
                pixels[index + 2] = img.pixels[index + 2];
            } else {
                pixels[index] = 0;
                pixels[index + 1] = 0;
                pixels[index + 2] = 0;
            }
            pixels[index + 3] = a;
        }
    }

    updatePixels();
}
we could also map the colored pixels values.
const threshold = 165;

// ...

function setup() {
    // ...

    for (let x = 0; x < width; x++) {
        for (let y = 0; y < height; y++) {
            // ...

            if (cumulative > threshold) {
                pixels[index] = map(img.pixels[index], threshold, 255, 0, 255);
                pixels[index + 1] = map(img.pixels[index + 1], threshold, 255, 0, 255);
                pixels[index + 2] = map(img.pixels[index + 2], threshold, 255, 0, 255);
            } else {
                // ...
            }
            // ...
        }
    }

    // ...
}
now what?? SHADER!
Why? Well currently our filter is running on the CPU, which is really powerfull but can’t do a lot of process/calculation all at once. So instead we can convert our code/filter to be ran on the GPU which is not as powerful as the CPU but allow for a lot more processes to be ran at once
shader files
we first need to create a shader file, which will be used to run our filter on the GPU
create a shader.vert file (vertex shader) that will contain a main function
// vertex shader
void main() {
    // ...
}
the vertex shader will be used to define the position of the pixels on the canvas that we want to update the color for
set the position in the vertex shader
// vertex shader
attribute vec3 aPosition;

void main() {
    gl_Position = vec4(aPosition, 1.0);
}
we have now introduced a new variable aPosition which will be used to set the position of the pixels on the canvas
note that this variable is provided by p5js when using the shader() function
create a shader.frag file (fragment shader) that will also contain a main function
// fragment shader
void main() {
    // ...
}
the fragment shader will be used to define the color of the pixels on the canvas that we want to update
set the color in the fragment shader
// fragment shader
void main() {
    gl_FragColor = vec4(1.0, 0.0, 0.0, 1.0);
}
we have now set the color of the pixels to red for each pixels
now lets update our sketch to use those new shaders
let img;
let shd;

function preload() {
  img = loadImage("./loic.jpeg");
  shd = loadShader('shader.vert', 'shader.frag');
}

function setup() {
  createCanvas(img.width, img.height, WEBGL);
}

function draw() {
  shader(shd);
  rect(-(width / 2), -(height / 2), width, height);
}
as we can see we have change the rendering mode to WEBGL, which will allow us to use shaders
createCanvas(img.width, img.height, WEBGL);by the same fact this as set the origin of our canvas to the center
we then specify which shader to use in the draw loop
shader(shd);and finally we draw a rectangle that will be used to render the shader
rect(-(width / 2), -(height / 2), width, height);looking at the result we can see that the shader is applied to the canvas, but only a quarter of it is red…
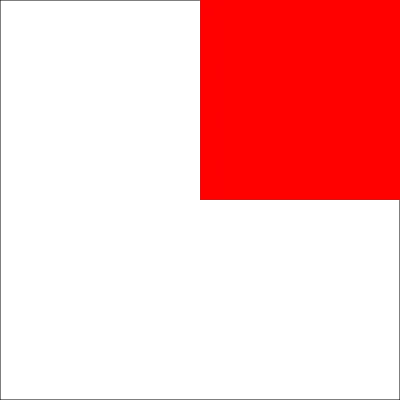
this is because the vertex shader start at the center of the canvas, so we need to update the position of the vertex to start at the bottom left corner of the canvas
// vertex shader
attribute vec3 aPosition;

void main() {
    vec4 positionVec4 = vec4(aPosition, 1.0);
    // * 2 is to use the full canvas size
    // - 1 is to place it back to a new origin (from the center to the bottom left)
    positionVec4.xy = (positionVec4.xy * 2.0) - 1.0;
    gl_Position = positionVec4;
}
now looking at the result we can see that the shader is applied to the full canvas

ok now that we have the canvas setup to use the shader let’s add back our image using the shader
first define a new uniform called u_texture that will be used to pass the image to the shader
function draw() {
    shader(shd);
    shd.setUniform('u_resolution', [width, height]);
    shd.setUniform('u_texture', img);
    rect(-(width / 2), -(height / 2), width, height);
}
notice that we also defined a resolution for the shader, which will be used to calculate the position of the pixels on the canvas
afterwhich we need to update the fragment shader to use the image
// fragment shader
uniform vec2 u_resolution;
uniform sampler2D u_texture;

void main() {
    vec2 uv = gl_FragCoord.xy / u_resolution.xy;
    vec4 color = texture2D(u_texture, uv);
    gl_FragColor = color;
}
now looking at the result we can see that the shader rendering our image
one obvious issue is that the image is flipped, this is because the origin of the canvas is now at the bottom left corner instead of the top left corner
we can correct that by flipping the y axis
// fragment shader
uniform vec2 u_resolution;
uniform sampler2D u_texture;

void main() {
    vec2 uv = gl_FragCoord.xy / u_resolution.xy;
    uv.y = 1.0 - uv.y; // flip the y axis
    vec4 color = texture2D(u_texture, uv);
    gl_FragColor = color;
}
ok we are pretty much back to where we were at the start, now let’s add back the chromatic effect
// fragment shader
uniform vec2 u_resolution;
uniform sampler2D u_texture;

void main() {
    vec2 uv = gl_FragCoord.xy / u_resolution.xy;
    uv.y = 1.0 - uv.y; // flip the y axis
    vec4 color = texture2D(u_texture, uv);

    float cumulative = (color.r + color.g + color.b) / 3.0;

    gl_FragColor = vec4(cumulative, cumulative, cumulative, 1.0);
}
now let’s add back the threshold
// fragment shader
uniform vec2 u_resolution;
uniform sampler2D u_texture;

void main() {
    vec2 uv = gl_FragCoord.xy / u_resolution.xy;
    uv.y = 1.0 - uv.y; // flip the y axis
    vec4 color = texture2D(u_texture, uv);

    float cumulative = (color.r + color.g + color.b) / 3.0;

    float threshold = 0.5;
    cumulative = cumulative > threshold ? 1.0 : 0.0;

    gl_FragColor = vec4(cumulative, cumulative, cumulative, 1.0);
}
now let’s add back the smoothening of the bright part of the threshold
// fragment shader
uniform vec2 u_resolution;
uniform sampler2D u_texture;

void main() {
    vec2 uv = gl_FragCoord.xy / u_resolution.xy;
    uv.y = 1.0 - uv.y; // flip the y axis
    vec4 color = texture2D(u_texture, uv);

    float cumulative = (color.r + color.g + color.b) / 3.0;

    float threshold = 0.5;
    cumulative = cumulative > threshold ? smoothstep(threshold, 1.0, cumulative) : 0.0;

    gl_FragColor = vec4(cumulative, cumulative, cumulative, 1.0);
}
now I also want the threshold to be dynamic, so let’s add a uniform for it
function draw() {
    // ...
    shd.setUniform('u_threshold', 0.5);
    // ...
}
// fragment shader
uniform vec2 u_resolution;
uniform sampler2D u_texture;
uniform float u_threshold;
void main() {
vec2 uv = gl_FragCoord.xy / u_resolution.xy;
uv.y = 1.0 - uv.y; // flip the y axis
vec4 color = texture2D(u_texture, uv);
float cumulative = (color.r + color.g + color.b) / 3.0;
cumulative = cumulative > u_threshold ? smoothstep(u_threshold, 1.0, cumulative) : 0.0;
gl_FragColor = vec4(cumulative, cumulative, cumulative, 1.0);
}you can also add the color back with some change
precision mediump float;

uniform vec2 u_resolution;
uniform sampler2D u_texture; // Input texture
uniform float u_threshold;

float map(float value, float min1, float max1, float min2, float max2) {
    return min2 + (value - min1) * (max2 - min2) / (max1 - min1);
}

void main() {
    vec2 uv = gl_FragCoord.xy / u_resolution;

    // Flip the Y-axis
    uv.y = 1.0 - uv.y;

    // Sample color from the texture
    vec4 texColor = texture2D(u_texture, uv);

    float cum = (texColor.r + texColor.g + texColor.b) / 3.0;

    if (cum > u_threshold) {
        texColor.r = map(texColor.r, u_threshold, 1.0, 0.0, 1.0);
        texColor.g = map(texColor.g, u_threshold, 1.0, 0.0, 1.0);
        texColor.b = map(texColor.b, u_threshold, 1.0, 0.0, 1.0);
    } else {
        texColor.rgb *= 0.0;
    }

    gl_FragColor = texColor;
}
but keep in mind that using if statement in shaders is not recomended as it is a lot more intensive then math
in our case we could update the code to use the step function which receive 2 float, and return 0.0 if the first argument is smaller than the second and 1.0 otherwise.
knowing this we can create a new float variable called mult which will either be 0.0 or 1.0, which we can then use to multiple our color values with
// ...
void main() {
    // ...

    float cum = (texColor.r + texColor.g + texColor.b) / 3.0;
    float mult = step(u_threshold, cum);

    texColor.r = map(texColor.r, u_threshold, 1.0, 0.0, 1.0);
    texColor.g = map(texColor.g, u_threshold, 1.0, 0.0, 1.0);
    texColor.b = map(texColor.b, u_threshold, 1.0, 0.0, 1.0);
    texColor.rgb *= mult;

    // ...
}
see this post on the usage of the step function and other alternatives to using if conditions
see this post for a more comprehensive on branching in shader code
If you want to play around with the code, you can find it here: https://editor.p5js.org/ricoloic/sketches/8xJ1ZF2kwb